| HMAS AE2 | |
|---|---|
 HMAS AE2, in dock in Sydney, c. 1914 | |
| Career (Australia) | |
| Builder: | Vickers Armstrong |
| Laid down: | 10 February 1912 |
| Launched: | 18 June 1913 |
| Commissioned: | 28 February 1914 |
| Honours and awards: |
Battle honours: Rabaul 1914 Dardanelles 1915 |
| Fate: | Scuttled, 30 April 1915 |
| General characteristics | |
| Class & type: | E-class submarine |
| Displacement: | 750 long tons (760 t) surfaced |
| Length: | 181 ft (55 m) |
| Beam: | 22 ft 6 in (6.86 m) |
| Draught: | 12 ft 6 in (3.81 m) |
| Installed power: |
2 × 8-cylinder diesels, 1,600 hp (1,200 kW) surfaced, battery-driven electric motors, 840 hp (630 kW) submerged |
| Propulsion: | 2 × propeller shafts |
| Speed: |
15 knots (28 km/h; 17 mph) surfaced 10 knots (19 km/h; 12 mph) submerged |
| Range: |
3,000 nmi (5,600 km; 3,500 mi) at 10 knots (19 km/h; 12 mph) surfaced 65 nmi (120 km; 75 mi) at 5 knots (9.3 km/h; 5.8 mph) submerged |
| Test depth: | 200 feet (61.0 m) |
| Complement: | 34 |
| Armament: | 4 × 18-inch torpedo tubes |
HMAS AE2 (originally known as AE2) was an E-class submarine of the Royal Australian Navy (RAN). One of two submarines ordered for the fledgling navy, AE2 was built by Vickers Armstrong in England and was commissioned into the RAN in 1914. Together with her sister submarine, HMAS AE1, the boat then sailed to Australia in what was, at the time, the longest voyage ever undertaken by a submarine.
After the start of World War I, AE2 was sent to German New Guinea with the Australian Naval and Military Expeditionary Force, then spent time patrolling around Fiji. With no need for submarines in the Pacific or Indian theatres, AE2 was towed to the Mediterranean, and arrived off Egypt in early 1915. The boat was assigned to the Dardanelles Campaign, and was the first submarine to successfully penetrate the waterway and enter the Sea of Marmara. With orders to "run amok" inside Turkish territory, AE2 operated for five days before mechanical faults forced her to the surface, where she was damaged by the torpedo boat Sultanhisar. The submarine was scuttled by her crew, all of whom were captured.
AE2 was the only RAN vessel lost to enemy action during World War I. The Rahmi M. Koç Museum began searching for the wreck in 1995, and found it in 1998. After another expedition in 2008, the Australian and Turkish Governments decided to leave the boat in place.
Description[]
The E-class was an enlarged version of the preceding D-class submarine to accommodate an additional pair of broadside torpedo tubes.[1] AE2 was 181 feet (55.2 m) long overall, had a beam of 22 feet 6 inches (6.9 m) and a draught of 12 feet 6 inches (3.8 m).[2] She displaced 750 long tons (760 t) on the surface[3] and 810 long tons (820 t) submerged. The E-class boats had a designed diving depth of 100 feet (30.5 m), but the addition of watertight bulkheads, strengthened the hull and increased the actual diving depth to 200 feet (61.0 m).[1] The crew consisted of 34 officers and enlisted men.[2]
The boat had two propellers, each of which was driven by an eight-cylinder[3] 800-brake-horsepower (600 kW) diesel engine as well as a 420-brake-horsepower (313 kW) electric motor. This arrangement gave the E-class submarines a maximum speed of 15 knots (28 km/h; 17 mph) while surfaced and 10 knots (19 km/h; 12 mph) submerged.[2] They carried approximately 40 long tons (41 t)[1] of fuel that gave them a range of 3,000 nautical miles (5,600 km; 3,500 mi) at 10 knots (19 km/h; 12 mph) while on the surface[2] and 65 nmi (120 km; 75 mi) at 5 knots (9.3 km/h; 5.8 mph) while submerged.[1]
AE2 had four 18-inch torpedo tubes, one each in the bow and stern, plus two on the broadside, one firing to port and the other to starboard. The boat carried one spare torpedo for each tube. No guns were fitted.[2]
Construction and service[]
AE2 was laid down on 10 February 1912 by Vickers Armstrong at Barrow-in-Furness, England, and launched on 18 June 1913. She was commissioned into the RAN at Portsmouth, England, on 28 February 1914 under the command of Lieutenant Henry H.G.D. Stoker, RN.[4] Accompanied by her sister boat, AE1, the other of the RAN's first two submarines, AE2 reached Sydney from England on 24 May 1914, manned by Royal Navy (RN) officers with a mixed crew of sailors drawn from the RN and RAN.[4] The 13,000-nautical-mile (24,000 km; 15,000 mi) was, at the time, "the longest submarine transit in history", and 60 of the 83 days of the voyage were spent at sea.[3][4]
Outbreak of World War I[]
On the outbreak of World War I in September 1914, the two submarines were assigned to the Australian Naval and Military Expeditionary Force as it captured German New Guinea.[5] During the capture of New Guinea, AE1 disappeared without a trace.[5] After the German surrender, AE2 spent three weeks patrolling around Fiji with the battlecruiser Australia, then returned to Sydney on 16 November for maintenance and repairs.[4][6]
As AE2 was the only submarine in the region and the German threat to Australia had disappeared, Stoker suggested that the boat be transferred to Europe.[6] Both the RAN and the British Admiralty agreed, and on 31 December, she left Albany with AIF Convoy 2 (under the tow of SS Berrima).[6] The submarine was the only warship assigned to the sixteen-ship convoy, as after the Battle of Cocos resulted in the destruction of the last active German ship in the Indian or Pacific Oceans, the Admiralty felt no need to protect shipping in the Indian Ocean.[7] AE2 arrived in Port Said, Egypt, on 28 January 1915, and was ordered to join the British 2nd Submarine Flotilla, and proceeded to take part in patrols in support of the Dardanelles Campaign.[6][8]
Dardanelles Campaign[]
On 10 March, the submarine ran aground off Mudros when returning from a patrol, as the harbour navigation lights had been switched off in AE2's absence, which Stoker was not prepared for.[8] The submarine was towed to Malta for repairs.[9] AE2 returned to operations in April.[10]
The aim of the Dardanelles Campaign was to knock Germany's ally, the Ottoman Empire, out of the war and open up supply lines to the Russian Empire via the Black Sea.[6] Attempts to open the Dardanelles through naval power were unsuccessful, three Allied battleships were sunk, and another three crippled, during a surface attack; although the British submarine HMS B11 was able to enter the strait and sink the modernized ironclad Mesudiye, two failed attempts to traverse the waterway and enter the Sea of Marmara resulted in the loss of HMS E15 and the French submarine Saphir to mines and strong currents.[11][12] Plans were made to capture the Turkish defences by a land attack, with landings at Cape Helles and Anzac Cove.[6][12] Despite the failures of E15 and Saphir, Stoker planned his own attempt, which was approved by the Allied fleet's commander, Vice Admiral John de Robeck.[13]

.jpg)
HMAS AE2
AE2's first attempt was made early on 24 April, but the boat only made it 6 nautical miles (11 km; 6.9 mi) into the strait before the forward hydroplane coupling failed, making the submarine impossible to control underwater and forced Stoker to retreat.[10][13] At 02:30 on the following day, Stoker made a second attempt.[13] The submarine was spotted by shore artillery and fired on from about 04:30; Stoker ordered the boat to dive to avoid the shells and to traverse the first minefield.[13] AE2 spent the next hour picking her way through the mines' mooring cables: defensive wires that had been welded to the submarine in Malta prevented the mooring cables from catching.[10][13] By 06:00, AE2 reached Chanak, and proceeded to torpedo the Ottoman gunboat Peyk I Sevket while simultaneously taking evasive actions to avoid an enemy destroyer.[13] The submarine ran aground beneath a Turkish fort, but the fort's guns could not be lowered enough to fire, and AE2 was able to free herself within four minutes.[13] Shortly after, the submarine's periscope was sighted by a Turkish battleship firing over the peninsula at the Allied landing sites; this prompted the ship to stop firing and withdraw.[13] AE2 advanced toward the Sea of Marmara, and at 08:30, Stoker decided to rest the boat on the ocean bottom and wait until nightfall before continuing.[13]
At around 21:00, AE2 surfaced to recharge her batteries, and Stoker radioed his success back to the fleet; the first Allied vessel to transit the Dardanelles.[12][13][14] Stoker had orders to "generally run amok", and with no enemies in sight, he ordered the boat to enter the Sea of Marmara.[13] Although the landing at Cape Helles was going well at the time Stoker reported in, the landing at Anzac Cove was not as successful, and the commander of the Australian and New Zealand Army Corps, Lieutenant-General Sir William Birdwood was pushing for reembarkation of his troops.[13] Some sources identify AE2 as one of the factors leading to Birdwood's decision to commit to the attack, although the Australian War Memorial claims there "is no real evidence" to support this.[15][16]
The submarine made appearances across the Sea of Marmara over the following five days to give the impression of multiple boats, and several attacks against Turkish ships were made, although all failed because of increasing mechanical problems.[15] News of the submarine's successes was spread to the soldiers ashore to improve morale.[15] On 29 April, AE2 met E14, one of several submarines that had entered the Dardanelles following the Australian boat's successful attempt.[16] The submarines arranged a rendezvous for the next morning.[4][16] When AE2 reached the rendezvous point on 30 April, smoke from the torpedo boat Sultanhisar was sighted, so the submarine dove and moved to investigate.[16] At 10:30, about a mile from the torpedo boat, AE2 inexplicably rose and broke the surface.[4] While diving to evade, the boat passed below her safe diving depth; frantic attempts to correct this caused the submarine's stern to break the surface.[15] Sultanhisar immediately fired on the submarine, puncturing the pressure hull in three places near the engine spaces.[4][10][15] Stoker ordered the boat's company to evacuate, and scuttled AE2 at 10:45'.[4][15] All personnel survived the attack and were captured by Sultanhisar, although four died from illness while in captivity.[4][16] AE2's achievements showed others that the task was possible, and within months Turkish shipping and lines of communication were badly disrupted, with supplies and reinforcements for the Turkish defence of Gallipoli forced to take underdeveloped overland routes.[12][15][16] AE2 was the only RAN vessel to be lost as a result of enemy action during World War I, and along with sister boat AE1, the total of the RAN's operational losses in the war.[17]
Search and discovery[]
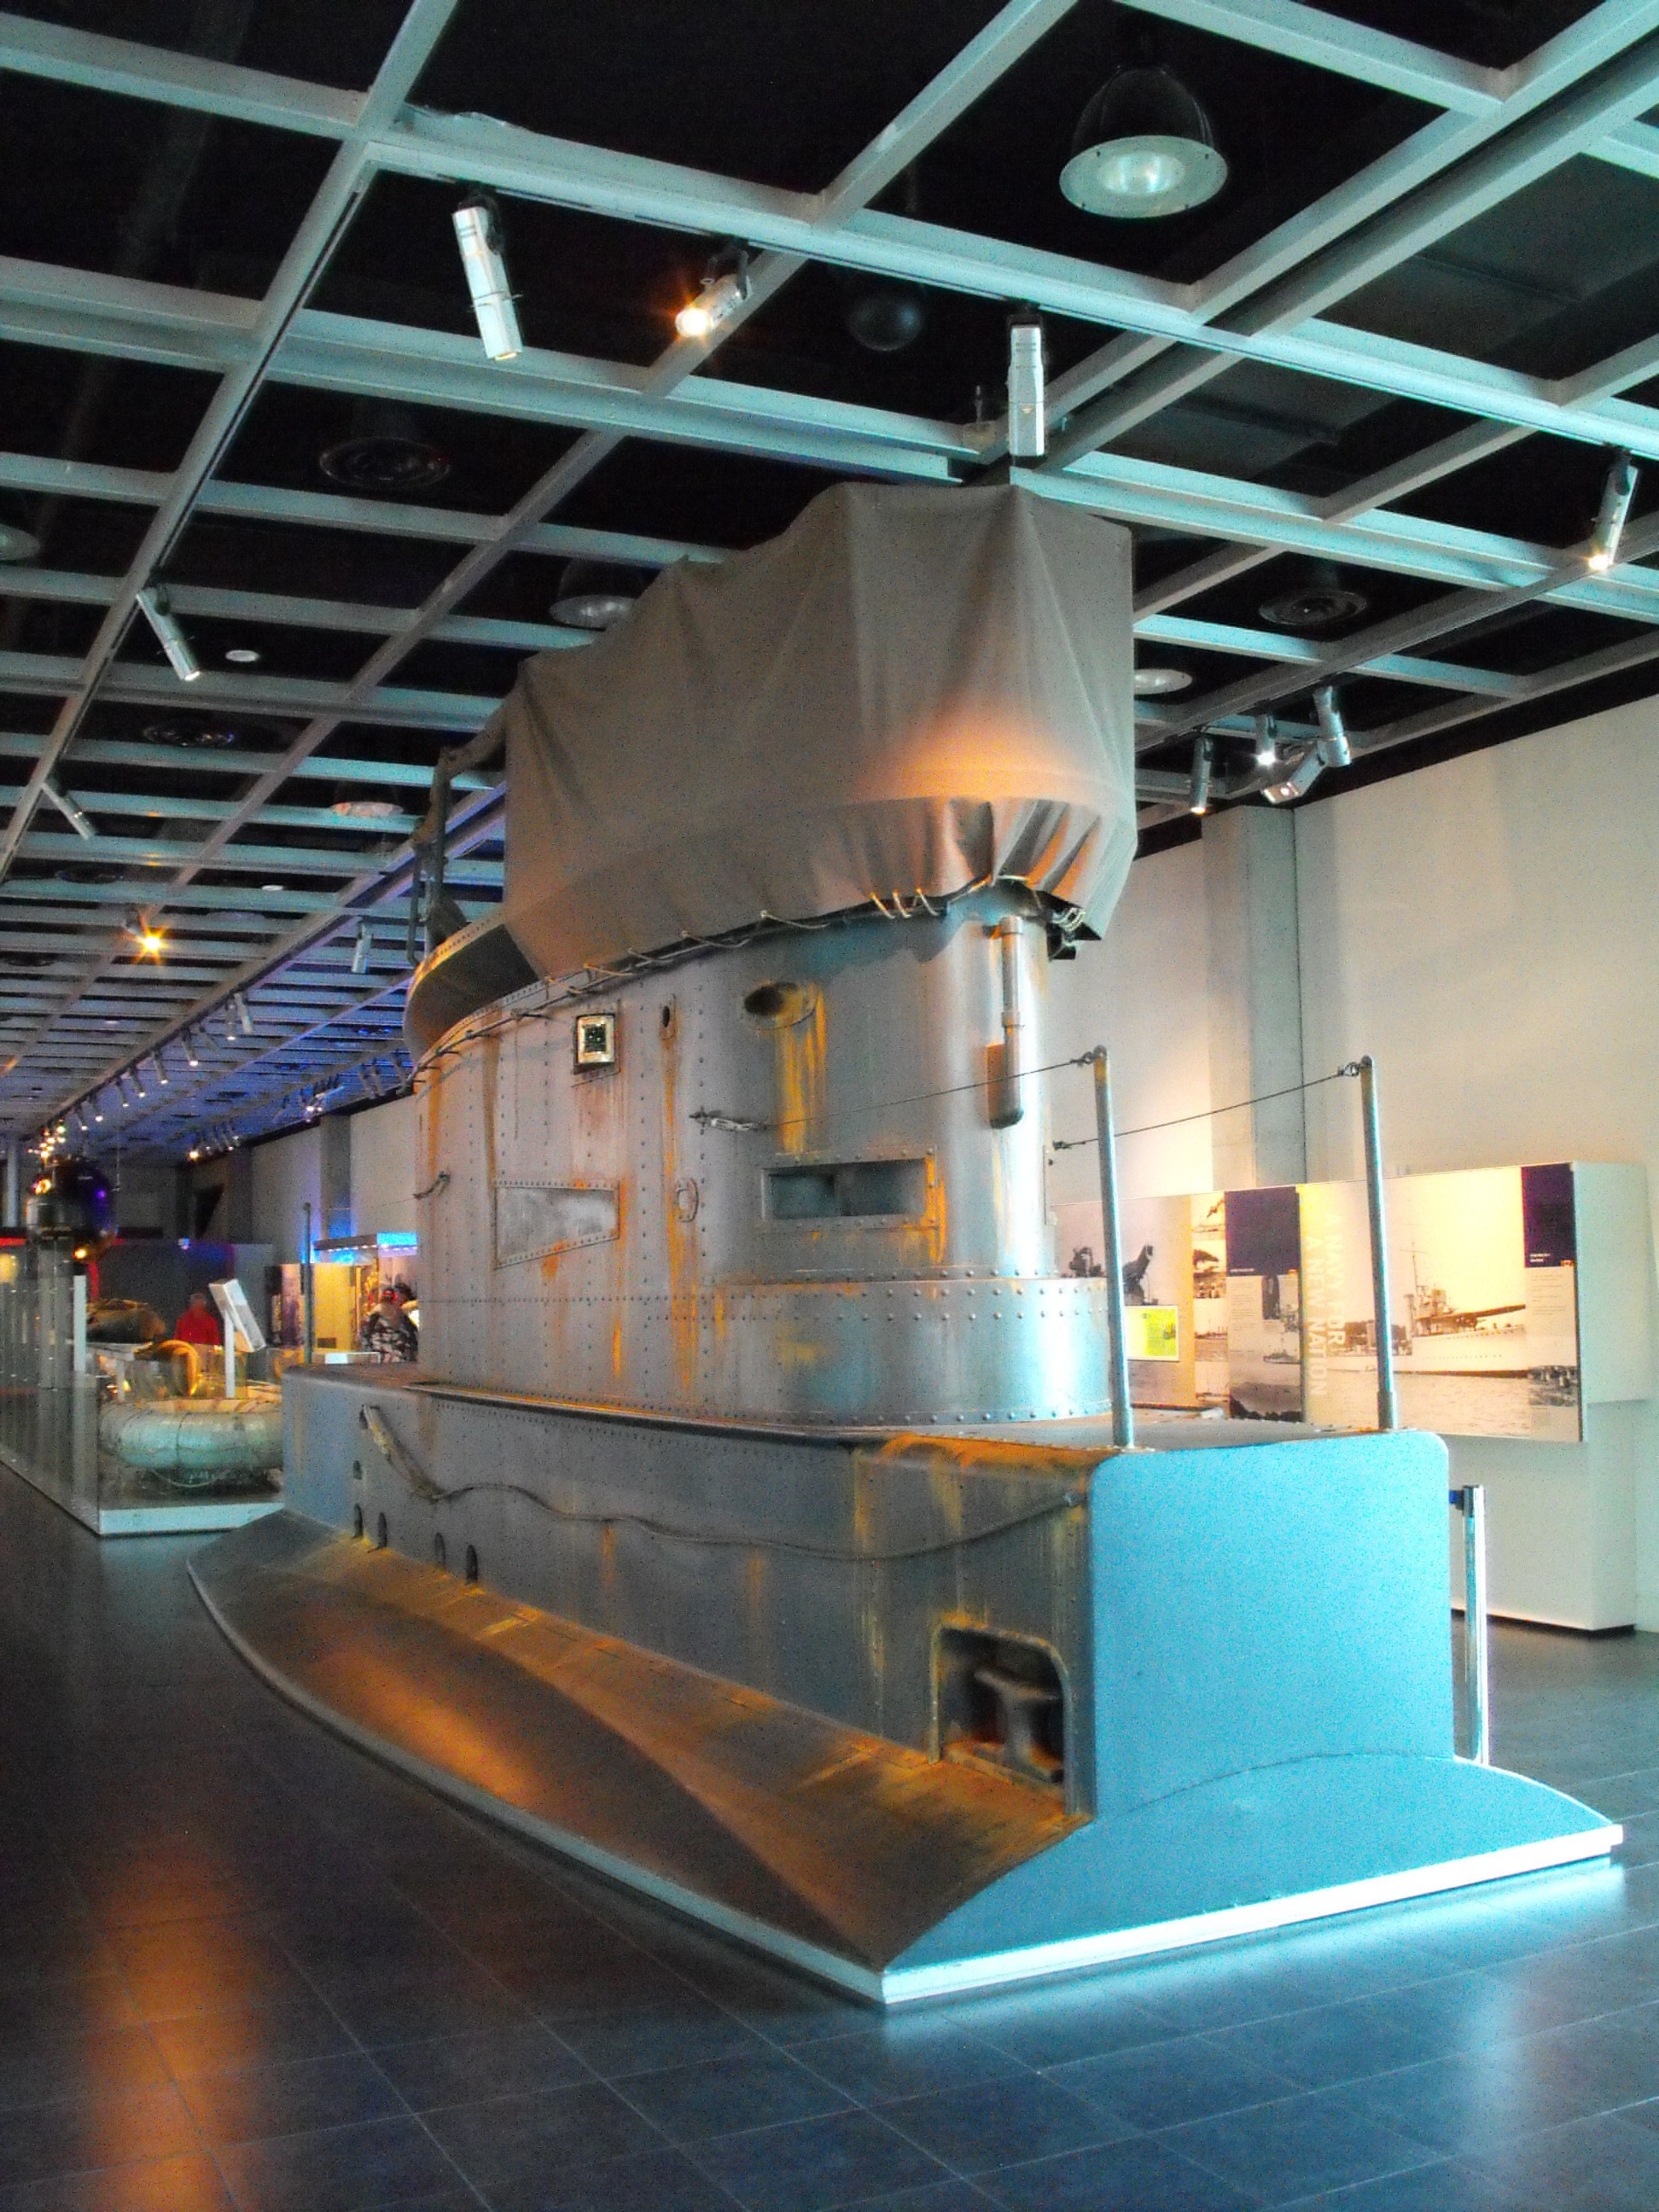

A replica of AE2's conning tower at the Western Australian Maritime Museum
Since 1995, Selçuk Kolay, director of the Rahmi M. Koç Museum in Istanbul, had searched for the remains of AE2.[18] In 1996, he discovered what he believed to be the wreck lying in 86 metres (282 ft) of water.[4] With the assistance of an Australian diving team, it was determined in October 1997 that the wreck was that of an old steamer.[4] After a further thorough side-scan sonar and magnetometric survey of the reported scuttling site of the AE2, Kolay located the submarine in June 1998, lying in 72 metres (236 ft) of water.[4] The wreck was first dived in July, while subsequent dives by an Australian team in October were able to confirm the wreck as being AE2.[4] The Australian government makes no claim to the shipwreck, and the submarine is not classified as a war grave.[19][20]
On 9 September 2007, Australian and Turkish naval authorities began an undersea investigation to determine if AE2 could be raised and restored.[21] Such a plan would see the submarine transferred to a viewing tank at Çanakkale. As part of the inspection, a drop camera was inserted through the submarine's open hatch and into the control room.[19] The survey team discovered that the wreck of AE2 had suffered further damage since the 1998 inspection dives. The bow portion of the external hull casing had been destroyed and that the rear of the conning tower now shows significant damage.[22] Following an April 2008 workshop by the Turkish Institute of Nautical Archaeology and the Submarine Institute of Australia, the recommendation was made against raising the wreck.[20][23] Moving the submarine to a viewing tank, along with an alternate option to resite it to shallower water were advised against, because of the AU$80–100 million cost of such projects.[20] Moving AE2 would also pose high risk to both the submarine and any vessels involved in the relocation; as well as potentially damaging the wreck, there is still an unexploded torpedo aboard.[20] Instead, the workshop advised that the submarine instead be preserved through the use of sacrificial anodes to reduce corrosion, along with buoys and a surveillance system to mark the wreck and detect unauthorised access and potential damage.[23]
In March 2010, following an overhaul of the RAN battle honours system, AE2 was retroactively awarded the honours "Rabaul 1914" and "Dardanelles 1915".[24][25]
Legacy[]
In 2009, Edith Cowan University was commissioned by the National Archives of Australia to research and produce a computer game/simulation called AE2 Commander, funded under the $15,000 Ian Maclean Award. As well as being a realistic WWI submarine simulation, it is investigating how original archival sources can be used as part of computer simulation and serious gaming. An initial version of the AE2 Commander game and website went live on 17 April 2011. The game presents a combination of digitized documents from the collections of the National Archives of Australia and Australian War Memorial along with the embodiment of various archival sources in the setting and narrative of the game.[26][27]
Commemorative bronze plaques have been installed along sites associated with AE2's voyage from Australia to the Dardanelles.[28] A Defence Housing estate to be built in Ermington, New South Wales on the site of a former naval ammunition store is to be named AE2.[29]
Citations[]
- ↑ 1.0 1.1 1.2 1.3 Harrison, Chapter 4: Pre-1914 Saddle Tank Types D & E Classes
- ↑ 2.0 2.1 2.2 2.3 2.4 Gillette, Australian & New Zealand Warships, 1914–1945, p. 47
- ↑ 3.0 3.1 3.2 Frame, No Pleasure Cruise, p. 97
- ↑ 4.00 4.01 4.02 4.03 4.04 4.05 4.06 4.07 4.08 4.09 4.10 4.11 4.12 "HMAS AE2". Sea Power Centre – Australia. http://www.navy.gov.au/hmas-ae2. Retrieved 5 October 2012.
- ↑ 5.0 5.1 Stevens, in Stevens, The Royal Australian Navy, p. 36
- ↑ 6.0 6.1 6.2 6.3 6.4 6.5 Stevens, in Stevens, The Royal Australian Navy, p. 44
- ↑ Frame, No Pleasure Cruise, p. 115
- ↑ 8.0 8.1 White, in Oldham, 100 Years of the Royal Australian Navy, p. 129
- ↑ White, in Oldham, 100 Years of the Royal Australian Navy, pp. 129–30
- ↑ 10.0 10.1 10.2 10.3 White, in Oldham, 100 Years of the Royal Australian Navy, p. 130
- ↑ Stevens, in Stevens, The Royal Australian Navy, pp. 44–5
- ↑ 12.0 12.1 12.2 12.3 Preston, Submarine Warfare, p. 34
- ↑ 13.00 13.01 13.02 13.03 13.04 13.05 13.06 13.07 13.08 13.09 13.10 13.11 Stevens, in Stevens, The Royal Australian Navy, p. 45
- ↑ Frame, No Pleasure Cruise, p. 119
- ↑ 15.0 15.1 15.2 15.3 15.4 15.5 15.6 Stevens, in Stevens, The Royal Australian Navy, p. 46
- ↑ 16.0 16.1 16.2 16.3 16.4 16.5 "AE2 (1914-1915)". Australians at War. Australian War Memorial. http://www.awm.gov.au/units/unit_10760.asp. Retrieved 21 September 2013.
- ↑ Frame, No Pleasure Cruise, p. 128
- ↑ "The discovery of the WW1 Australian submarine". Heritage Council of NSW. http://www.heritage.nsw.gov.au/heritagensw/dec98/10_art.htm.
- ↑ 19.0 19.1 Brenchley, Fred (15 September 2007). "Weight of water and concern over Gallipoli reminder". The Sydney Morning Herald. http://www.smh.com.au/news/world/weight-of-water-and-concern-over-gallipoli-reminder/2007/09/14/1189276983614.html?page=fullpage#contentSwap1. Retrieved 22 September 2013.
- ↑ 20.0 20.1 20.2 20.3 Brenchley, Fred (6 May 2008). "Gallipoli sub to be left on sea floor". The Sydney Morning Herald. http://www.smh.com.au/news/national/gallipoli-sub-to-be-left-on-sea-floor/2008/05/05/1209839554214.html. Retrieved 22 September 2013.
- ↑ Brenchley, Fred (10 September 2007). "Gallipoli's valiant sub poised to surface from the depths of history". http://www.smh.com.au/news/world/gallipolis-valiant-sub-poised-to-surface-from-the-depths-ofhistory/2007/09/09/1189276544462.html. Retrieved 9 December 2008.
- ↑ Smith, Tim (10 June 2008). "Report to the Australian Government on the Assessment Phase HMAS AE2". AE2 Commemorative Foundation. pp. 15–16. http://ae2.org.au/wp-content/uploads/2013/03/AssmtPhaseWayAheadReport.pdf. Retrieved 20 October 2013.
- ↑ 23.0 23.1 Australian Associated Press (28 April 2008). "Gallipoli sub to be left on sea floor". The Sydney Morning Hearald. http://news.smh.com.au/national/gallipoli-sub-to-be-left-on-sea-floor-20080428-290q.html. Retrieved 21 September 2013.
- ↑ "Navy Marks 109th Birthday With Historic Changes To Battle Honours". Royal Australian Navy. 1 March 2010. Archived from the original on 13 June 2011. http://web.archive.org/web/20110613184920/http://www.navy.gov.au/Navy_Marks_109th_Birthday_With_Historic_Changes_To_Battle_Honours. Retrieved 23 December 2012.
- ↑ "Royal Australian Navy Ship/Unit Battle Honours". Royal Australian Navy. 1 March 2010. Archived from the original on 14 June 2011. http://web.archive.org/web/20110614064156/http://www.navy.gov.au/w/images/Units_entitlement_list.pdf. Retrieved 23 December 2012.
- ↑ "Ian Maclean Award 2009". National Archives of Australia. http://www.naa.gov.au/about-us/research-grants/ian-maclean/award-recipients/masek.aspx. Retrieved 21 April 2011.
- ↑ "AE2 Commander Website". Edith Cowan University. http://ae2.ivec.org. Retrieved 21 April 2011.
- ↑ "HMAS AE2 - The Silent Anzac Project Brief March 2010". AE2 Commemorative Foundation. 19 March 2010. pp. 4, 6. http://ae2.org.au/wp-content/uploads/2013/03/AE2_Project_Brief_09_Mar10.pdf. Retrieved 20 October 2013.
- ↑ Townsend, Luke (14 October 2012). "West gets a bonanza". The Sunday Telegraph. p. 26.
References[]
- Basarin, Veichi; Basarin, Hatice (2008). Beneath the Dardanelles: the Australian Submarine at Gallipoli. Crows Nest, New South Wales: Allen & Unwin. ISBN 978-1-74175-595-4.
- Frame, Tom (2004). No Pleasure Cruise: the Story of the Royal Australian Navy. Crows Nest, New South Wales: Allen & Unwin. ISBN 1-74114-233-4. OCLC 55980812.
- Gillett, Ross (1983). Australian & New Zealand Warships, 1914–1945. Sydney: Doubleday. ISBN 0-868-24095-8.
- Harrison, A. N.. "BR 3043 The Development of HM Submarines from Holland No 1 (1901) to Porpoise (1930)". Submariners Association: Barrow-in-Furness Branch. Admiralty. http://www.rnsubs.co.uk/Boats/BR3043/contents.php. Retrieved 20 September 2013.
- Preston, Anthony (1998). Submarine Warfare: An Illustrated History. Herron Books. ISBN 1571451722. OCLC 40602917.
- Stevens, David (2001). "World War I". In Stevens, David. The Royal Australian Navy. The Australian Centenary History of Defence. III. South Melbourne, Victoria: Oxford University Press. ISBN 0-19-555542-2. OCLC 50418095.
- White, Michael (2011). "Australian Submarines: Past and Present". In Oldham, Charles. 100 Years of the Royal Australian Navy. Bondi Junction, New South Wales: Faircount Media Group. OCLC 741711418. http://www.nxtbook.com/faircount/RoyalAustralianNavy/RAN100/index.php. Retrieved 20 June 2011.
External links[]
| Wikimedia Commons has media related to HMAS AE2. |
- RAN webpage for HMAS AE2
- AE2 Commemorative Foundation
- AE2 1997 and 1998 Expeditions, History and Pictures History of AE2 and expedition notes on the discovery and verification of the wreck.
- British and Australian Submarines in the Dardanelles, 1915 Includes a full animation of the AE2's passage of the Dardanelles on 24–29 April 1915, based on Stoker's report of the voyage.
- AE2 Commander – 3D simulation and 2D educational site developed by Edith Cowan University and the National Archives of Australia
| ||||||||||||||||||||||||||
Coordinates: 40°40′21″N 28°04′31″E / 40.672371°N 28.075218°E
The original article can be found at HMAS AE2 and the edit history here.